Python
Setup
Install Python and Visual Studio Code from the Software Center.
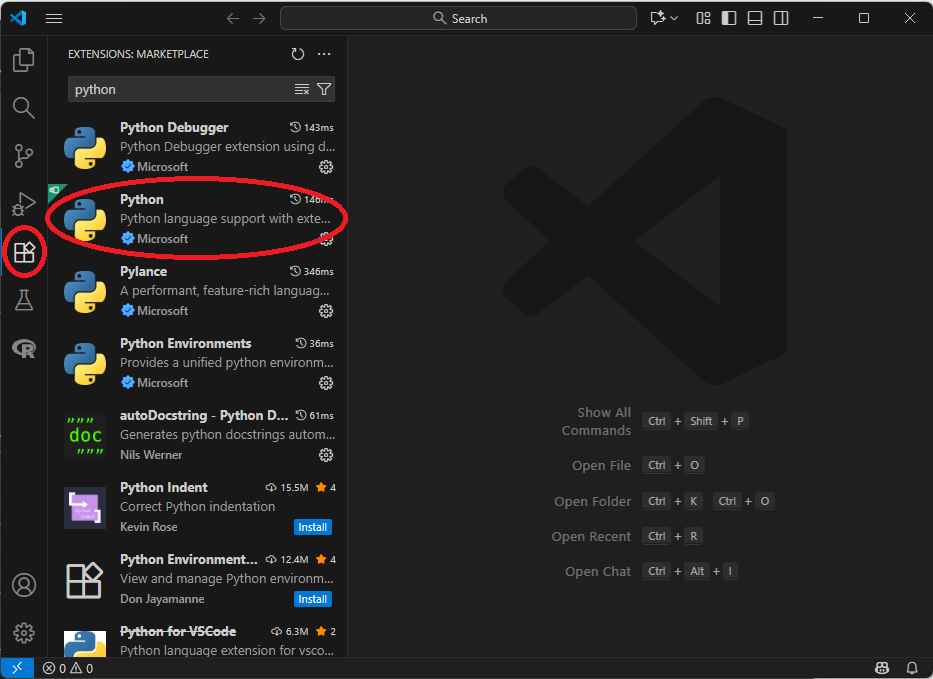
Open VS Code, go to the Extensions menu in the left-hand sidebar, search for “python”, select the “Python” extension published by Microsoft and install it:
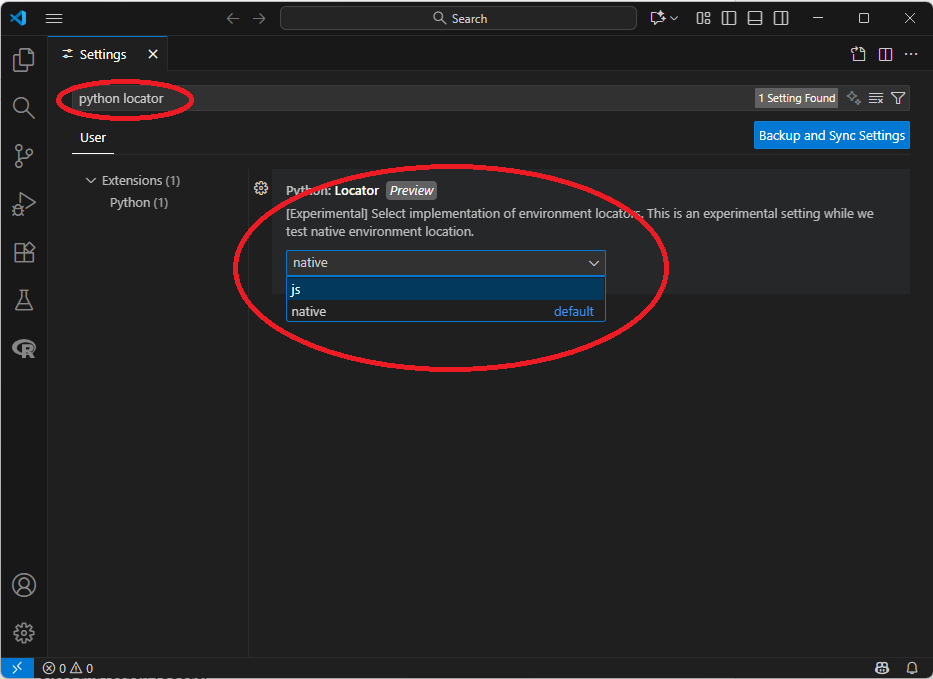
Open up your settings (Ctrl + , or File > Preferences > Settings), search for “python locator”, then pick “js” from the drop-down menu:
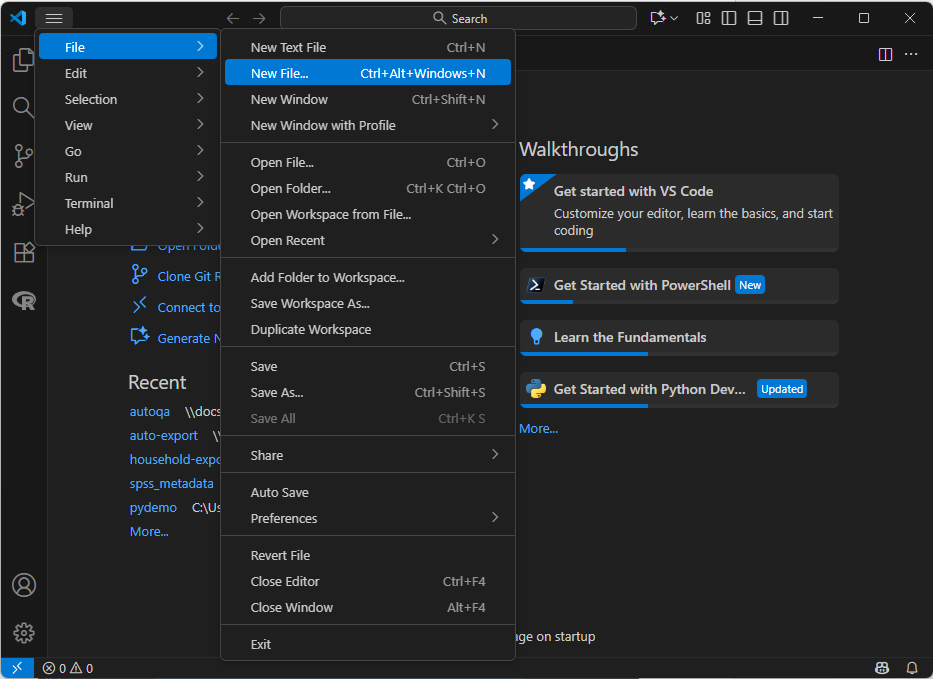
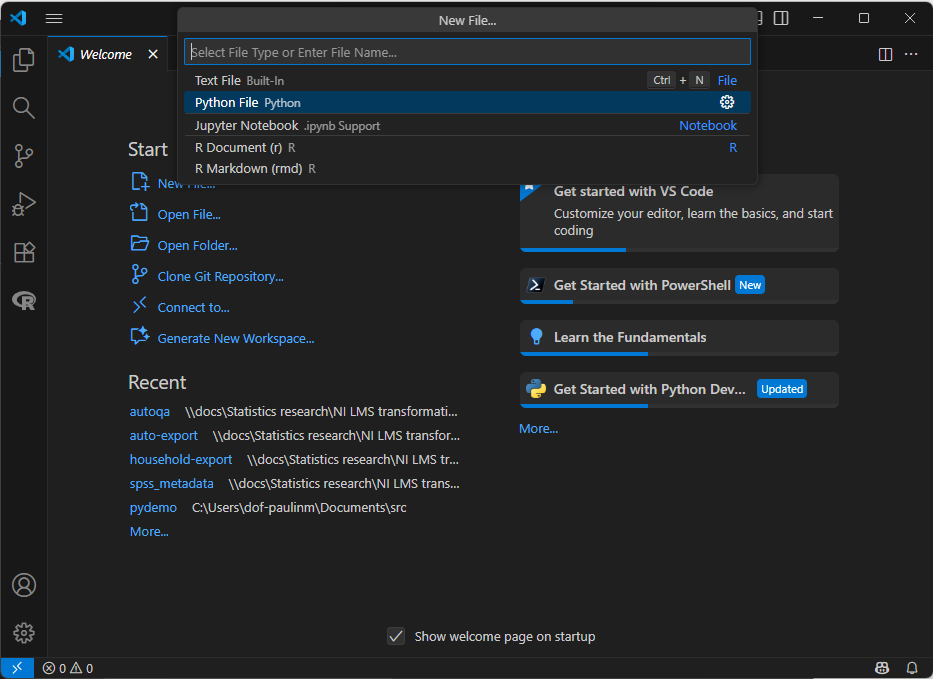
Close and reopen VS Code, then go to File > “New File…”, then pick “Python file” from the drop-down menu:
Pick “Python File” from the File Type menu:
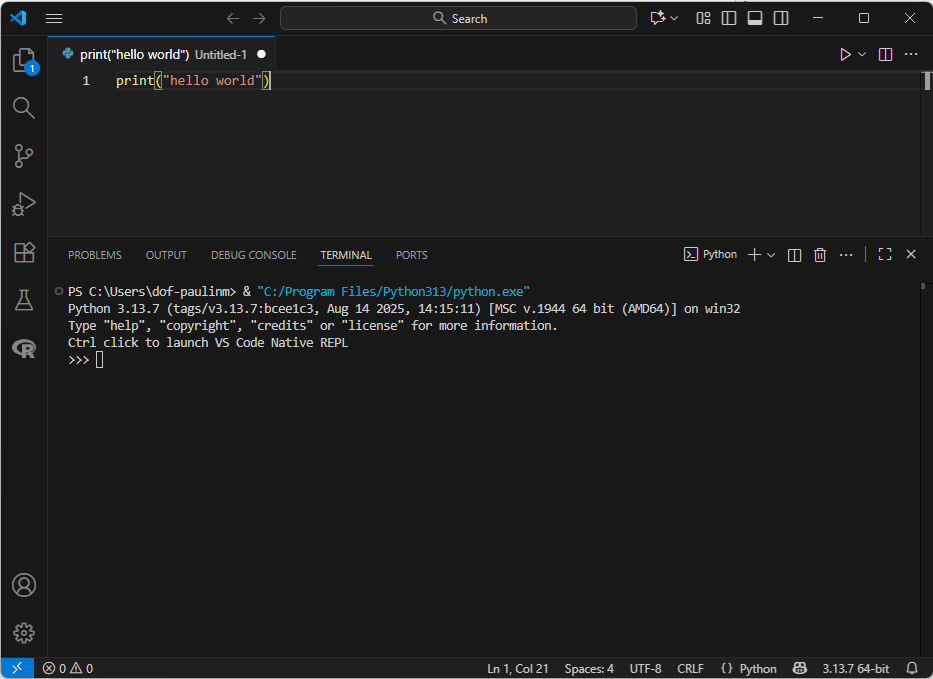
Write some code in the new file, something like print("hello world"), then press Shift + Enter to start Python:
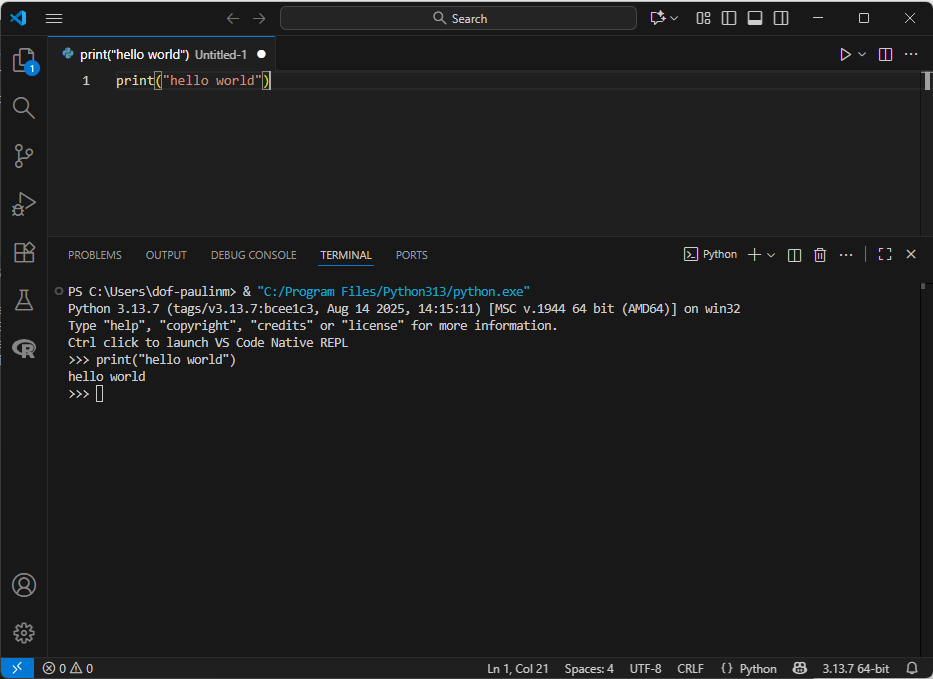
Use Shift + Enter to run the current line or any section of code you’ve highlighted:
Troubleshooting
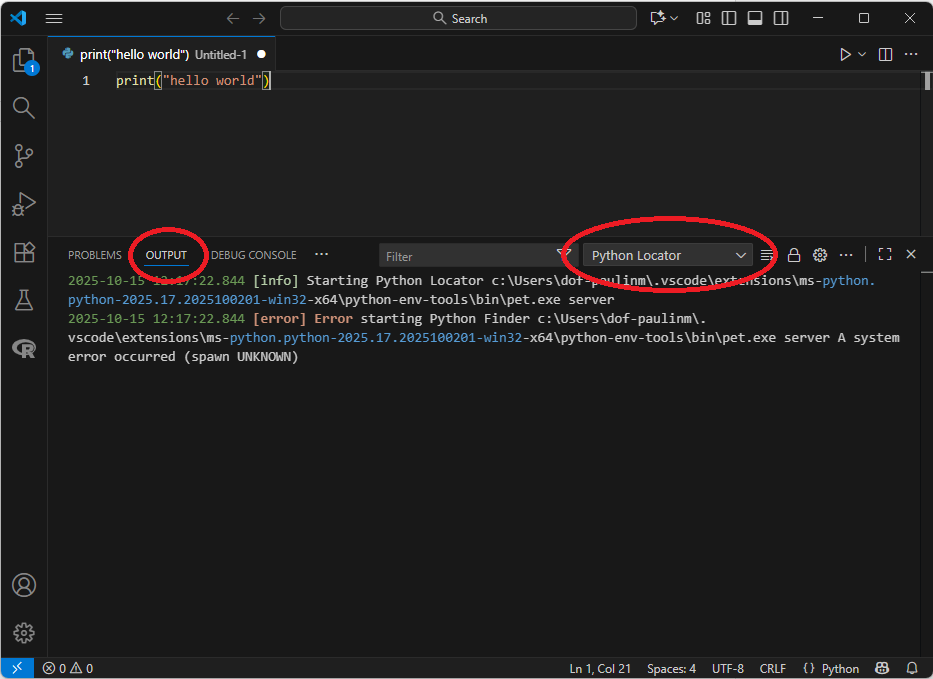
If nothing happens when you press Shift + Enter, try closing and re-opening VS Code. If that doesn’t fix it, open up the terminal window by pressing Ctrl + ' and open the “Output” tab. Go to the drop-down menu and pick “Python Locator” if it’s there. If it looks something like the screenshot below, double-check Python Locator under settings (it should be “js”), then try restarting VS Code again:
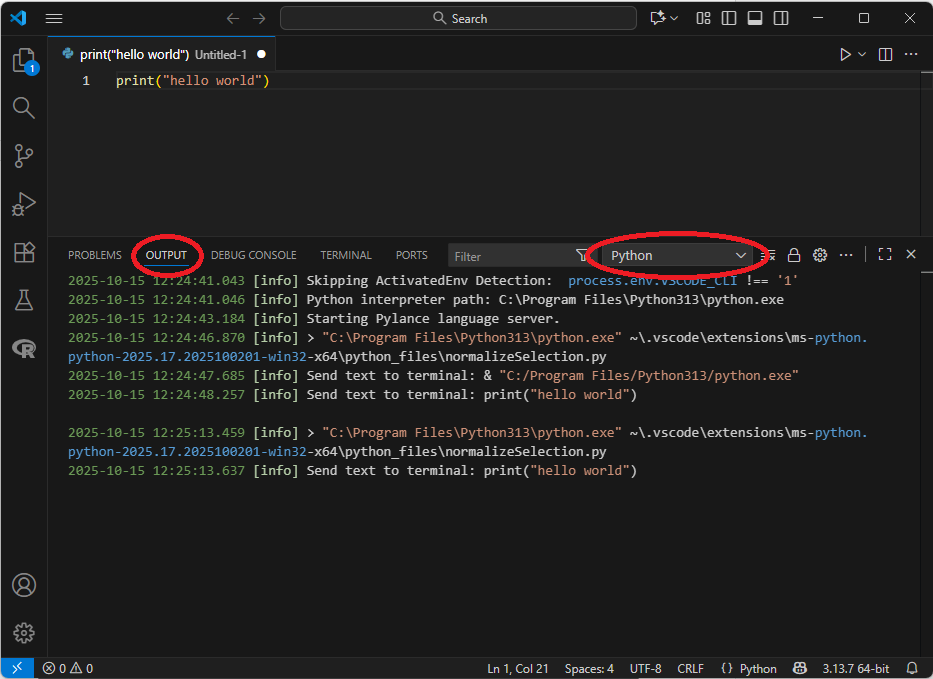
If that doesn’t work, or if “Python Locator” isn’t an option in the outputs menu, pick “Python” instead and take a screenshot. Then open an issue and include the screenshot. It should look something like this:
If a message appears in the bottom-left corner with something about setting up virtual environments or detecting interpreters, try disabling the “Python Environments” extension.